I have yet to actually begin.
I have, however, made a pearl choker to go with the outfit. And it is pretty enough that it quite possibly will kick me into gear to work on the top.
First, I decided how wide I wanted the choker so that I could determine how many beads it would take to obtain said width. In this case, 8. Following looming techniques, then, I needed 9 strings (each bead is held between 2 strings. I also had to measure how long I wanted the finished choker, and add about 12 inches. For this, I measured my threads out to 24 inches.
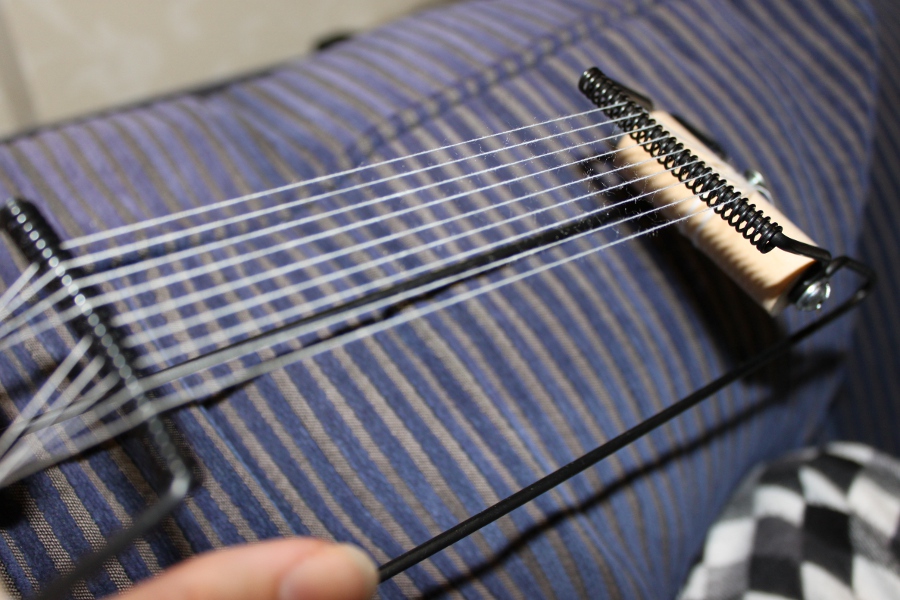
Tie a knot in one end of the group of strings, divide them roughly in half (obviously dividing 9 strings in half is not an option, so there's 4 on one side, 5 on the other), wind it on the spool a bit, tie a knot in the other end, loop it on the other spool, and wind until the strings are firmish. Then, using a needle, toothpick, tiny hook, whatever, space your threads out between the spacer coils on either end of the loom.

The spacer coils on my loom (and in fact most looms) are spaced for seed beads. For this project I'm not using seed beads, though. I'm using pearl beads that are slightly bigger. I think they're 4 millimeter, but don't quote me on that.
It's a bit hard to tell from the above picture, but I spaced out the threads to every other space rather than one thread per space.
Space space space space space.
(I apologize. I'm listening to Steve run a printing training workshop while typing this, and he's talking about spaces.)

Once the loom is set, it's time for the fun part. Actually creating the choker.
Cut another thread about 2 meters long. You don't want it too long because then you'll start getting knots. Tie that thread to the bottom loom thread at the side that has less wound thread. Which one is the bottom? Look at your loom. The thread closest to you is the bottom.
String your beads onto the thread.
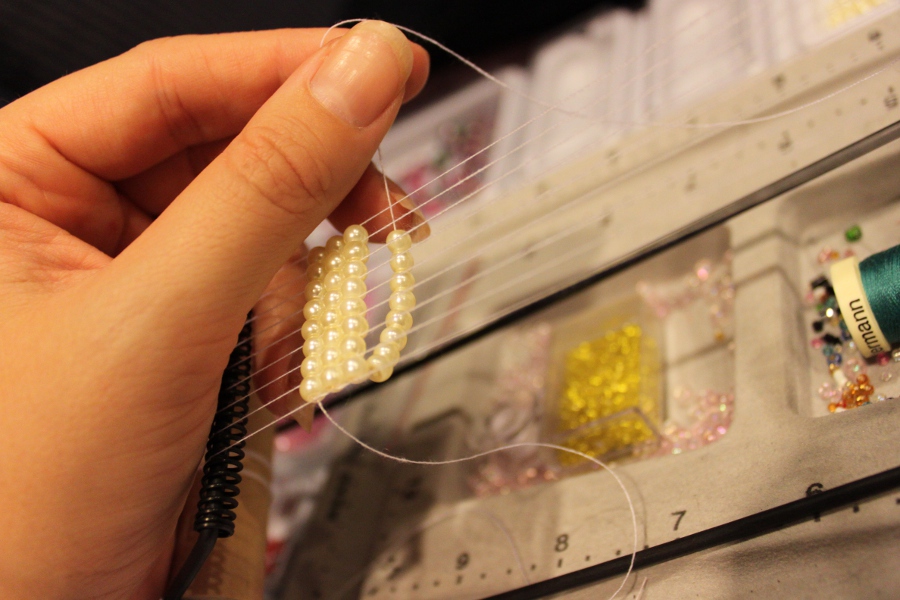

Then feed your needle and thread back through the beads staying ON TOP of the loom threads! This is what holds the beads in place, so take care.


Goodness my bead tray is looking messy. Probably I should do something about that. Like use those beads before others.
Blah.

The issue I ran into was that if I just gathered the ends of the choker together and attached a fastener, it would warp the lines of the choker. Store bought spacer bars tend to only go up to 5 holes, and are simply a bar with holes, not something to finish off a strand. And then we get into the problem of getting something that is the width you need.
Steve fixed this problem by threading 8 of my pearl beads onto a wire, then tightly wrapping a thinner wire around the lot to hold it together. A very handy little piece that I will be requesting from time to time. (He's much better at wire work than I am.)

It took a little bit of experimenting to find the best way to attach the endings to the choker. This is a picture of how not to do it. I threaded each of the 9 stings into the ending, then tried to tie them off and weave them back into the beads. It was frustrating, and didn't work very well.
What I did find effective was to first tie off all the 9 threads, then weave and cut off 8 of them, keeping one on one of the ends. Then, I used that one to tie on the ending by weaving into a bead on the choker, into the ending, into the next bead, and so on, working my way across.

It worked well.


Ta-da! A choker that fastens together.

I used a tear drop pearl bead, 2 filigree bead caps, a rhinestone rondelle, and a round pearl bead to add an embellishment.
No, the white at the bottom of that drop is actually the head of the straight pin I used to try out my idea before actually going through with it.

And finally, my elegant pearl choker is complete!
Time for something to eat.
Wow, thanks for the tutorial! I have a little bead loom like that, but I have never used it because I was never sure how to. I think I will be giving it a shot in the near future!
ReplyDeleteAlso, your choker is beautiful!